
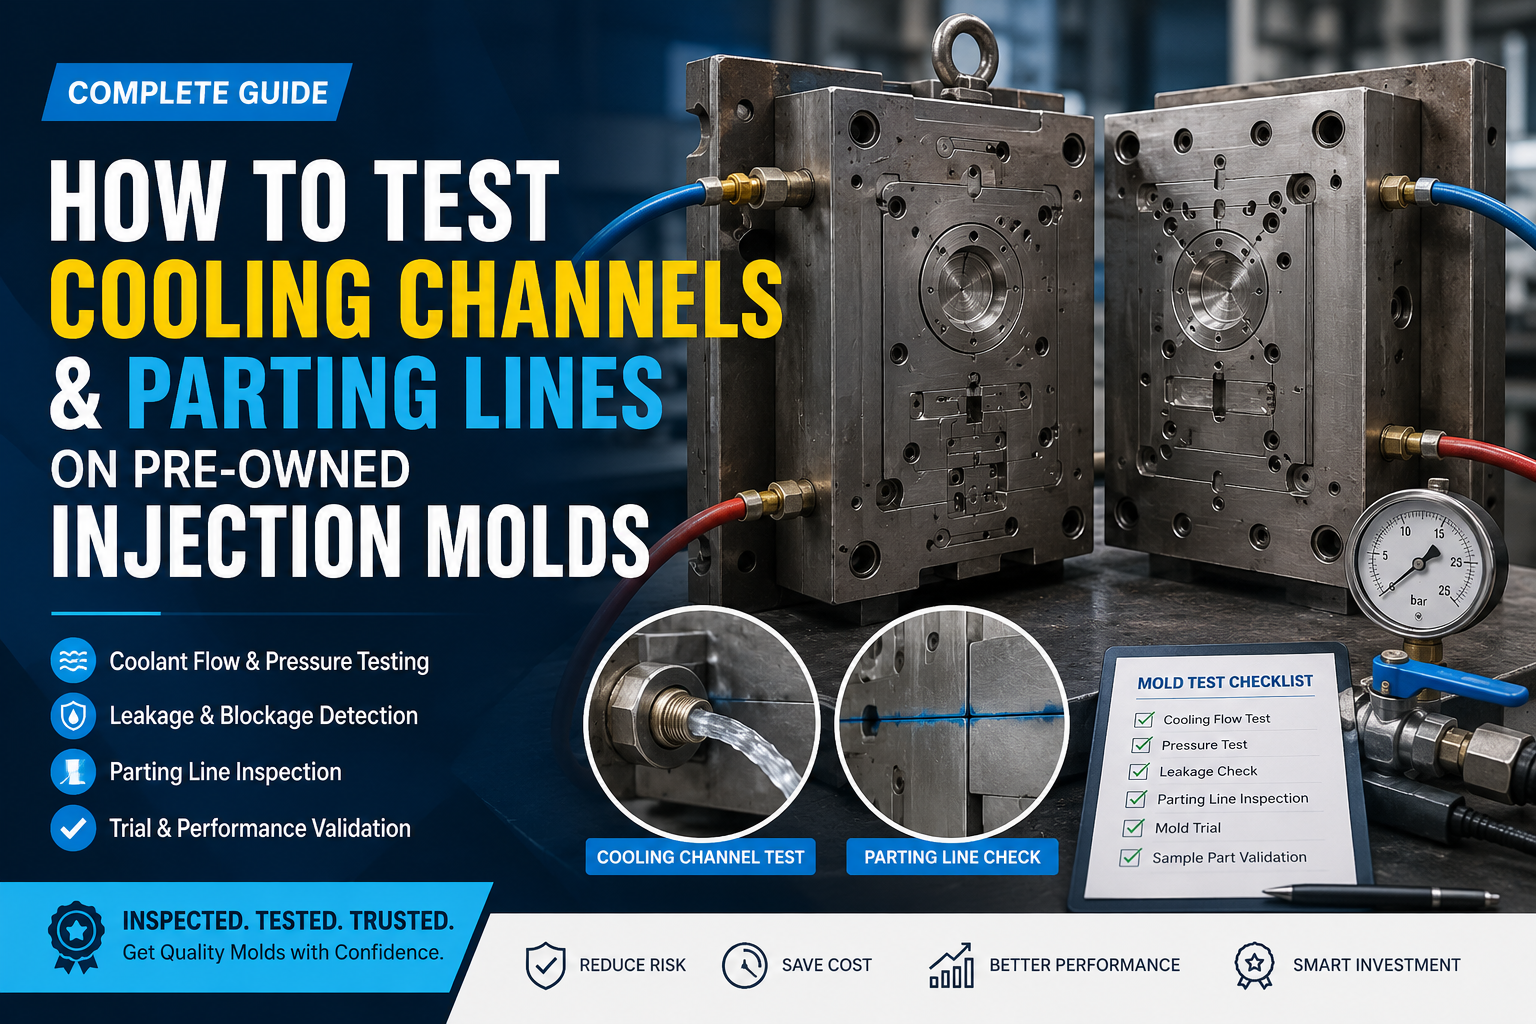
Buying a pre-owned injection mold can be a cost-effective way to reduce tooling investment and shorten your time to production. However, a used mold should never be purchased based only on its appearance or previous production history. Critical areas such as cooling channels, parting lines, cavities, cores, slides, and shut-offs need to be inspected and tested carefully before the mold is approved.
Among these, cooling channels and parting lines have a direct impact on molding performance, cycle time, product quality, and the remaining service life of the mold.
An injection mold may look clean and well-maintained externally while having internal problems such as blocked cooling passages, corrosion, leakage, worn shut-offs, or damaged parting surfaces.
Testing a used mold can help identify potential issues before they become expensive problems during production.
A proper mold inspection can help determine:
For buyers of used injection molds, these checks are an important part of evaluating the true condition and value of a mold.
Cooling is critical to injection molding because it controls the temperature of the mold and has a major influence on cycle time, dimensional stability, warpage, and overall part quality.
Start by examining all cooling water inlets and outlets.
Look for signs of:
The condition of the fittings can provide an early indication of how well the mold has been maintained.
Each cooling circuit should ideally be checked separately.
Water should flow freely through the circuit without significant restriction. Discolored water, rust particles, deposits, or very low flow can indicate contamination or blockage inside the cooling passages.
Testing each circuit individually is important because a mold may have one restricted channel while the remaining circuits appear to function normally.
Where possible, use a suitable flow meter to measure the flow through individual cooling circuits.
Compare the results between circuits. A significant difference can indicate:
Consistent cooling flow is essential for maintaining stable mold temperatures during production.
The cooling circuits should also be checked for leakage.
A pressure test can identify leaks that may not be obvious during a simple visual inspection. The circuit is pressurized using suitable testing equipment and monitored for pressure loss.
Special attention should be given to:
The test pressure should always be appropriate for the mold's cooling system and testing equipment.
The parting line is where the two halves of an injection mold meet. Its condition is extremely important because wear or damage can result in flash, mismatch, dimensional problems, and premature mold failure.
Before inspection, thoroughly clean the cavity and core parting surfaces.
Remove:
A clean surface makes dents, scratches, wear marks, and gaps much easier to identify.
Inspect the complete parting line carefully.
Look for:
Even relatively small damage to the parting surface can result in flash during molding.
Close the mold carefully and check whether the cavity and core come together correctly.
Look for signs of:
For a more detailed inspection, engineer's blue/contact blue can be used to evaluate contact between mating surfaces. The resulting contact pattern can help identify areas that are not making proper contact.
Shut-off areas deserve particular attention in a used mold.
Inspect:
Worn shut-offs can allow plastic to escape during injection, resulting in flash and potentially requiring expensive repair or re-machining.
While visual inspection and individual component testing are important, a mold trial on an injection molding machine provides much more useful information about the mold's actual production condition.
During a trial, the mold can be evaluated for:
Trial parts should also be carefully examined for flash, warpage, short shots, sink marks, burn marks, dimensional variation, and other molding defects.
At UsedMoldMarket.com, we understand that buying a pre-owned injection mold requires more than simply checking photographs and specifications. Wherever applicable, we undertake mold inspection, testing, and trials to help evaluate the actual working condition of the mold before it reaches the buyer. Cooling circuits, parting lines, mold movement, cavity and core condition, ejection, and overall molding performance can be checked during the inspection and trial process. By validating the mold's condition and identifying potential issues before purchase, UsedMoldMarket.com helps buyers make informed decisions and source quality pre-owned injection molds with greater confidence.
Before purchasing a pre-owned mold, ask for as much information as possible about its condition and previous production history.
Useful information includes:
For high-value molds, a detailed inspection report can be particularly useful.
Be cautious if you notice:
These issues don't necessarily mean a mold cannot be purchased, but they should be identified and considered when determining its value and any refurbishment costs.
Before approving a used injection mold, make sure the following have been evaluated:
Cooling channels visually inspected
Individual cooling circuits flushed
Cooling flow checked where possible
Cooling circuits pressure-tested
Cooling leakage checked
Parting line cleaned and inspected
Cavity/core alignment checked
Shut-offs inspected
Slides and lifters checked
Mold opening and closing tested
Ejection system tested
Mold trial completed where applicable
Trial parts inspected
Repairs and refurbishment requirements documented
A pre-owned injection mold can offer substantial savings compared with manufacturing a new mold, but the purchase decision should be based on condition, performance, and remaining production life—not just price.
Testing the cooling channels and parting lines is an important part of determining whether a used mold is ready for production or requires refurbishment.
With proper inspection and mold trials, buyers can significantly reduce the risk of purchasing a mold with hidden problems.
UsedMoldMarket.com is committed to helping buyers source quality pre-owned injection molds through proper inspection, testing, and trial processes. Whether you are looking for a single used mold or building a larger tooling inventory, evaluating the mold before purchase can help you make a smarter investment and get your production running faster.
 Industrial Product
  Storage Products
  Kitchenware
  Bath & Laundry
  Cleaning Product
  Baby Products
  Furniture
  Gardenware
  Ready Molds